
covering my works throughout the week, so there's quite some stuff this time ^^
first of all
 OOQ COMPLETED (old news already ^^;;;)
 actually painting starts before Rezel, but i put Rezel into priority that time. spent 2 nights painting this, and another morning for lining, decals and topcoat.
now, the main stuff here. the dio itself.
OK, i lied. have some photos of OOQ first XD
 face closeup. you might think this time the paintjob is smooth, well, yes, but some parts, they aren't that smooth. the head isn't glossy enough, so the lining went quite messy there.. masking for the head went nicely, and i love my 0.15mm saw, that thing is a gem to deal with OOQ's head seam =D
 ok, he's gonna cut you head off XD
 gun mode looks better, with the sword held that way =D
ok, the dio, seriously XD
 MDF and acrylic rods =D
 dont want a large dio, so just 30cm X 30cm.
 cut that off~~
now, for the placement of the stuff. mark the hole.
 drilled the hole
 mount the rods on.
 OOQ at his position ^^
next, ELS
 added another strip of pla plate to increase the volume of the arms. later, i cut the arm half as it is a bit too large for the dio, so this ELS might be a bit of my own design ^^;;;
 first part of puttying. yes, epoxy putty, this thing is going to be very heavy ^^;;; btw, for that amount, it takes half a pack of Bondite epoxy putty, which is my last supply of putty.
so, resupply then
 *puts on sunglasses* YEEEEEEEEEEEAAAAAAAAAAAAAAAAAAAAHHHH
and yeah, a bit of stuff in using putty ^^
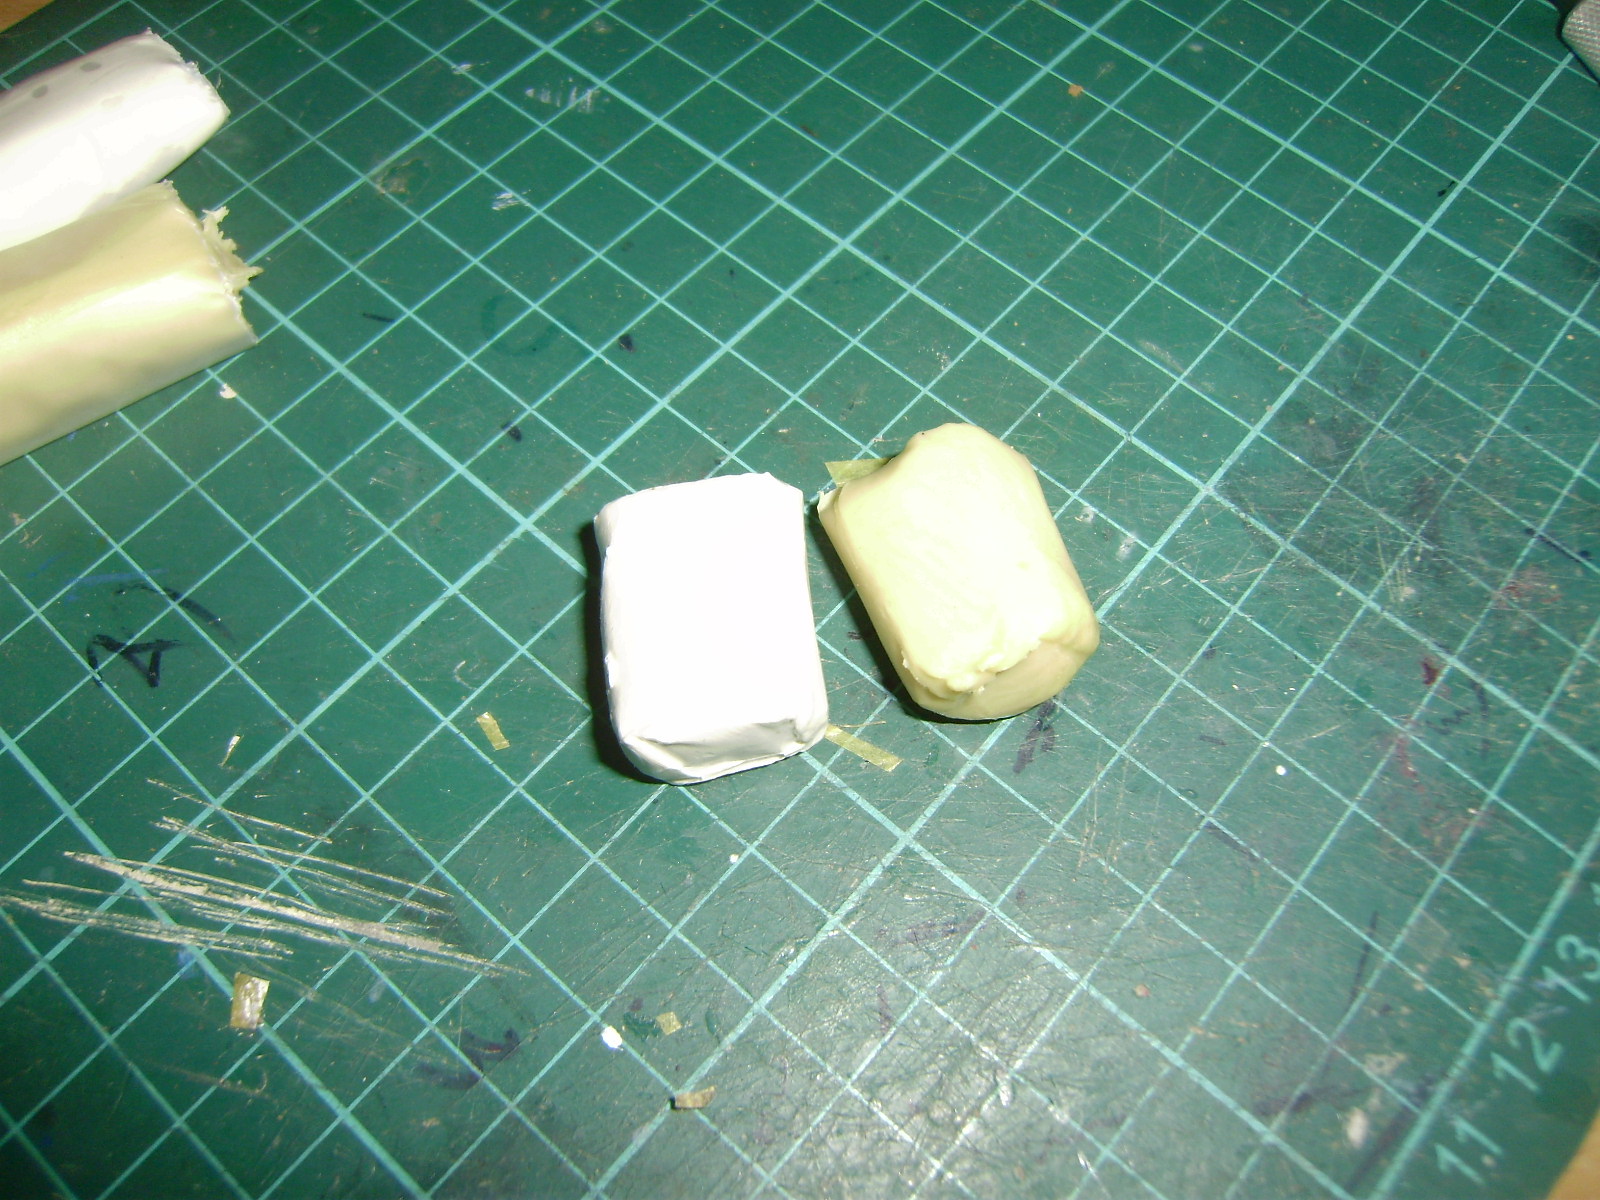 cut both resin and hardener equally
 roll them into strips and roll them together
 and knead like hell until you get this. sometimes people use a bit of water to make putty more soft during kneading, but i didnt do so as water might make it a bit messy, so i only use water to smoothen up the surface.
 and you can do this. knead it into this kind of sheet of 2mm think. see how soft it is, so that it conforms with my palm :D
 bam. looks like need a lot of clean up and sanding after this
 as for the arm, i need to make air bags so that the putty will be less compact, reducing putty consumption and make it lighter.
 so knead it into this. this is remarkably soft
 put it on the arm
 and cover it all.
a bit on Jinx
 mark it, and drill it forgot to snap photos of hollow'd Jinx XD
diorama setup.


so, it left only to paint Jinx, work a bit more on ELS and the asteroid surface itself. dunno if wanna make small ELS or not. depending on time, for that. i dont use GNSV Buster configuration, as it is a bit too heavy for my OOQ, so yeaa
That's all for now !
.
So this is the ELS you've mentioned before this. And boy it's huge (even for a "slimmed-down" version).
ReplyDeleteCan't wait to see the completed version. =D
NICE ELS! Is that JINX being assimilated? I guess it's time for me to get some saw... For my 00 QAN[T]'s hand if I am gonna get started. I have to ask again though, changing the wrist into slanted, you only used pla-plate? No putty?
ReplyDelete@Bd yep ^^
ReplyDelete@Marzz thanks bro =D basically, yes, no putty, only pla plate. just add it, then sand it at an angle so that it will be slanted. one thing, you must extends the blue part of the sword, the upper one, so that it will connect to the arm. my advice, thicken the peg of the blue part a bit as the default doesnt actually plugs into the arm. extending the blue part, depending on how you do it, might need or doesnt need putty
You should make that GN-X Patrick's unit. :P Have an idea of how you're gonna make the asteroid surface.
ReplyDeletelooks pretty good... nice job!! cant wait when it finished...
ReplyDelete@Tom haha i'd wished i could convert that GN-XIII into GN-XIV (well, i could actually, but time says no)still, there are some GN-XIII being used in the movie ^^ for the asteroid, got the reference from fichtenfoo, and already have the material
ReplyDelete@Tsukinari thanks bro ^^
Looking good =) Nice ELS
ReplyDelete@Aya thanks ^^
ReplyDeleteThis is some amazing stuff that you are doing! Looking forward to your completed work XD
ReplyDelete@Gundam Gunso thanks ^^
ReplyDeleteWoah nice ZD..
ReplyDeletebtw what is the name of the transparent material that you use for the ELS and Quanta standing?
and I think it's very sturdy eh? hmm.. I need some flexible one..
@MaftyNavue thanks mafty ^^ those are acrylic rods, very sturdy and hard too. i dont try bending mine, as im afraid it may broke ^^;;;
ReplyDeletecool ELS bro.
ReplyDeleteyou plan to shape it while it;s still half cured?
@Heathorn thanks ^^ uh well, ELS, i wished i had the urge to sand it smoother ^^;;
ReplyDeleteHey there,
ReplyDeleteI've been looking at your blog for sometime and I do think your post about the gundam are so great.
Good stuff always good to share and I am sure you would like more people to learn about your blog.
I have a little idea for you, I am actually staff of E2046.com, one of the largest online retail store on figures. We have a friend link for people like you, free of charge, all you need is filling in the form here:
http://www.e2046.com/links.php
Or if you have any problem or enquiry, you are more than welcome to contact me.
Best Regards
Joan